20% OFF ALL REFILLABLE FAVORITES. SHOP NOW
Face
Eyes
Cheeks
Lips
Tools
More
New
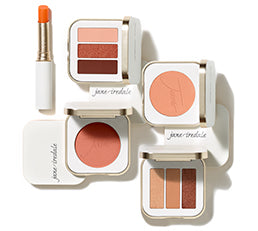
30th Anniversary CollectionShop Now
Skincare-1
Skincare-2
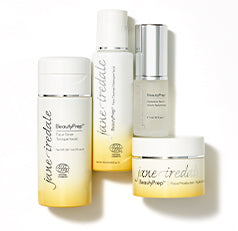
BeautyPrep™ Skincare SystemShop Now
Shop by Concern
Beauty Advice
Beauty Inspiration
Quizzes
About Us-1
About Us-2
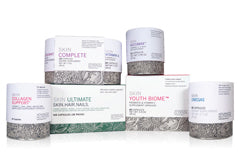
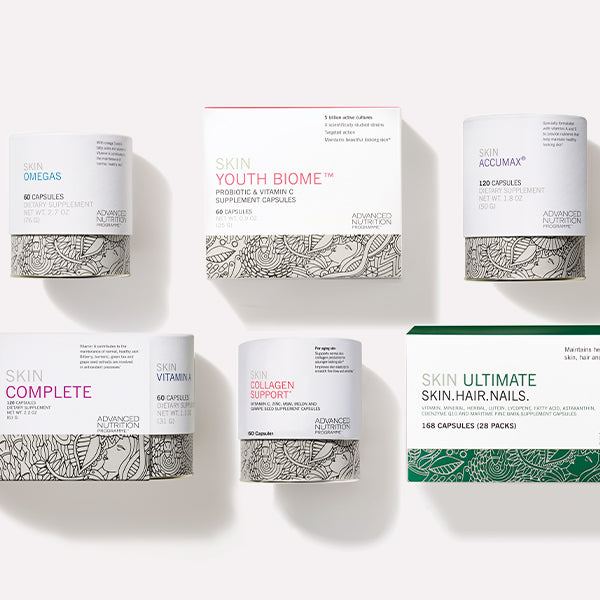
Supplements
SKINCARE SUPPLEMENTSSHOP NOW
Menu title
This section doesn’t currently include any content. Add content to this section using the sidebar.
Add description and links to your promotion
Your headline
Image caption appears here
Your product's name
$49.00
Add your deal, information or promotional text